
Can I make a football water station myself? Yes, you absolutely can create a functional and affordable football water station with some basic materials and a little effort. This guide will walk you through how to make a football water station that will keep your team hydrated and ready to play. We’ll cover everything from the core components to creative customization options, ensuring your DIY football hydration station is a success.
Having a dedicated soccer water cooler setup is crucial for any team, whether you’re a professional squad or a local youth league. Proper hydration prevents heatstroke, muscle cramps, and fatigue, allowing athletes to perform at their best. This article will focus on building a portable sports water dispenser and discuss various team water cooler ideas, ultimately providing a comprehensive guide to sideline hydration solution assembly. Get ready to learn about athletic water station assembly, how to create a custom football water bar, and make an easy sports water station for any outdoor team water setup. We’ll even touch upon sports event water management as it relates to individual stations.
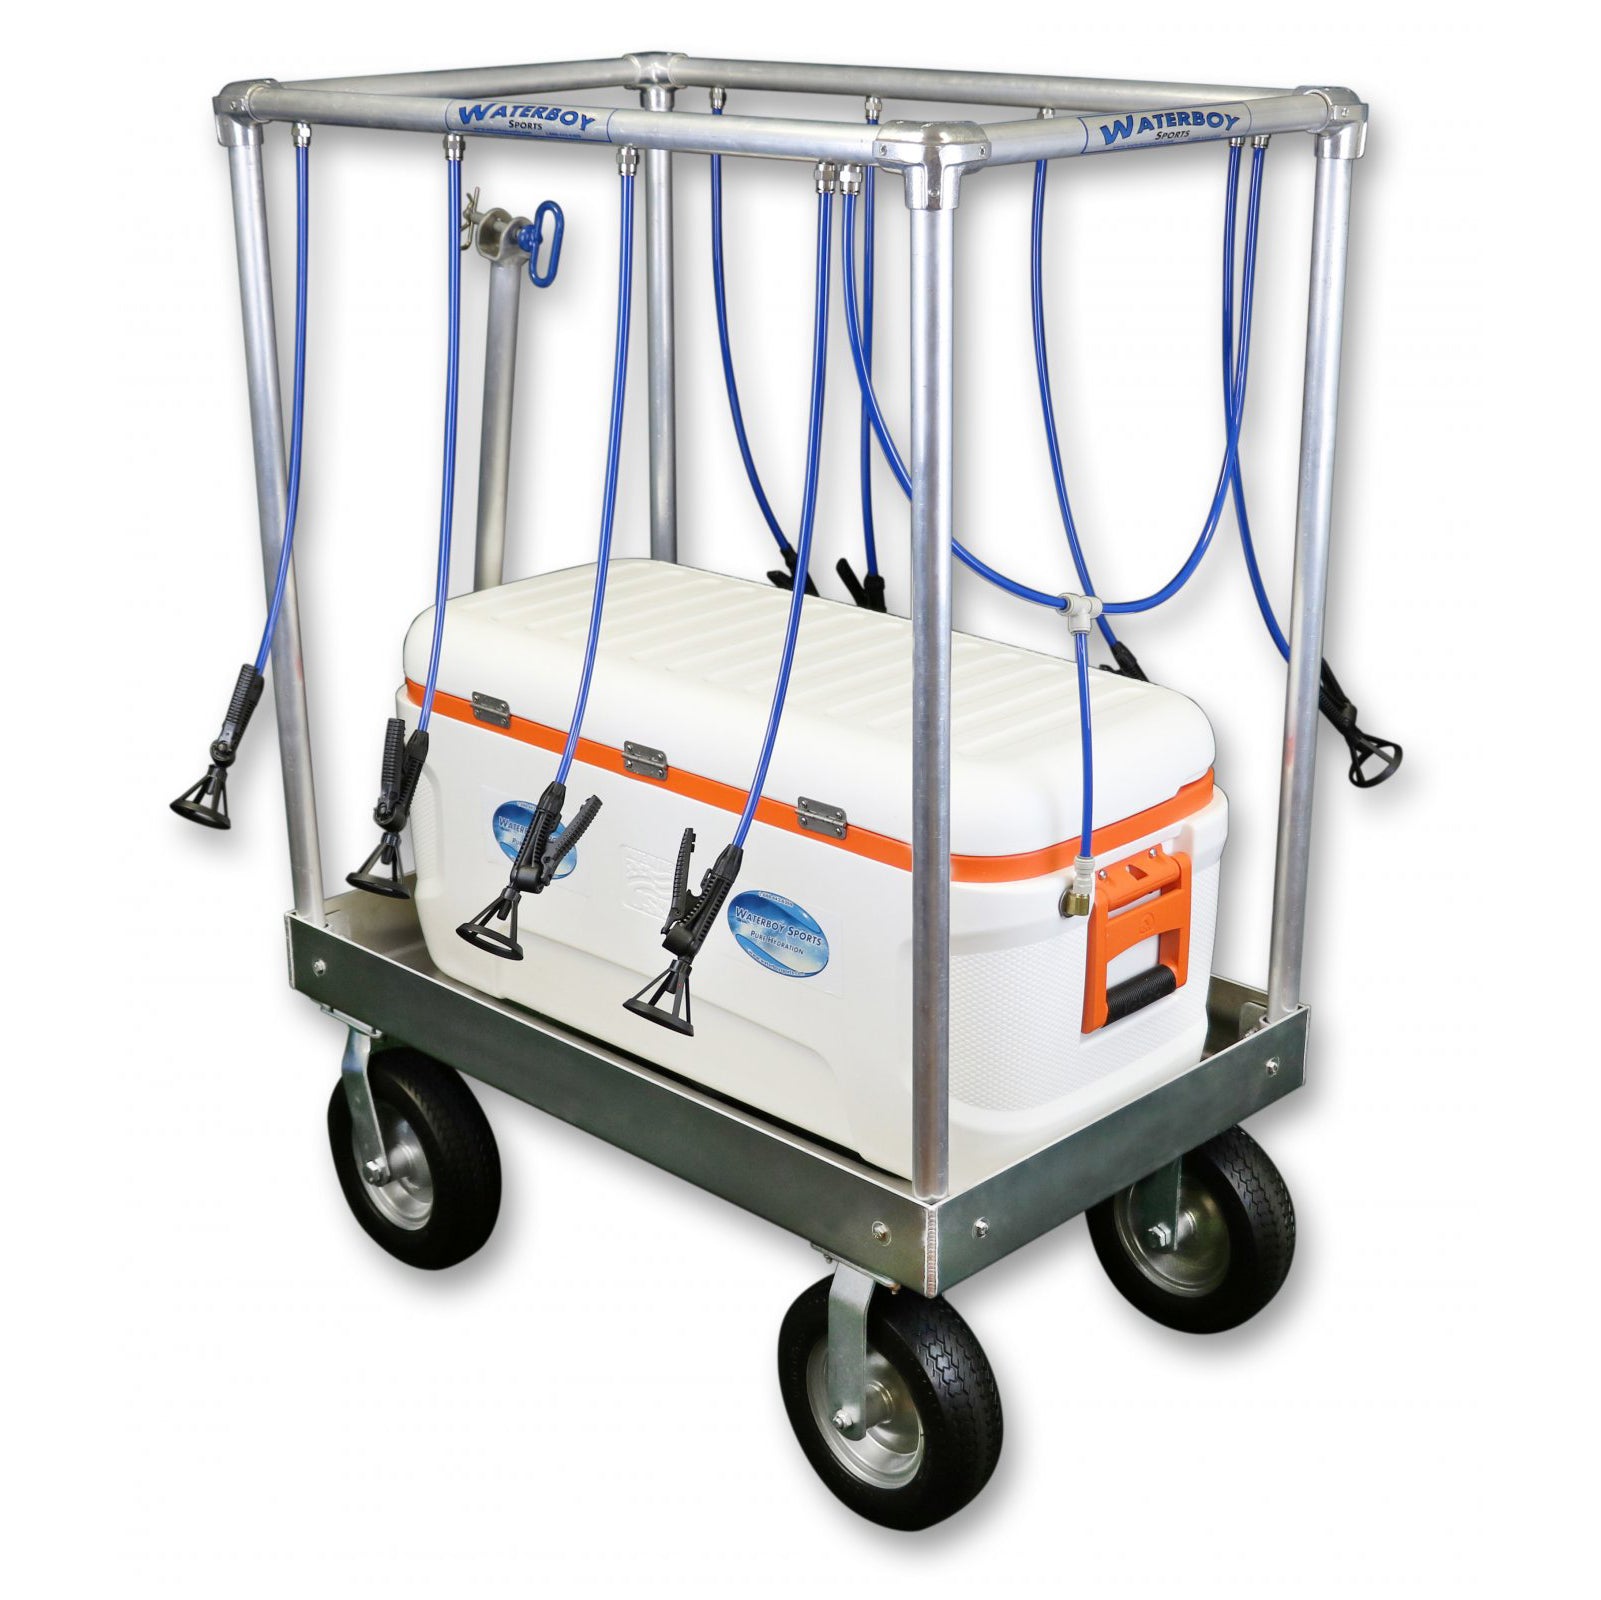
Image Source: www.anytimesportssupply.com
The Core Components of Your Football Water Station
Before we dive into the step-by-step construction, let’s identify the essential pieces you’ll need for your football water station. These are the building blocks that will ensure your setup is both practical and effective.
Water Storage and Dispensing
The heart of your water station is how you store and dispense the water. Several options are available, each with its pros and cons.
- Large Water Coolers/Dispensers: These are the most common and straightforward. Look for ones with a sturdy spigot that’s easy to operate. Capacity is key – consider how many players you need to serve at once.
- Large Water Jugs with Spigots: Similar to coolers, but often more portable. These are great if you need to move your station frequently.
- Individual Water Bottles: While not a “station” in the traditional sense, having a designated cooler filled with ice-cold water bottles can also work. However, for a communal setup, a dispenser is usually preferred.
Ice for Cooling
Keeping the water cold is vital for player comfort and safety.
- Ice Chests/Coolers: A separate cooler specifically for ice is a good idea. This prevents the ice from diluting your drinking water if you’re using a cooler with a separate ice compartment.
- Ice Packs: Reusable ice packs can also be a good supplement, especially for keeping individual bottles cold.
Cups or Refill Stations
You need a way for players to access the water.
- Disposable Cups: Biodegradable options are a good choice. Make sure you have a designated trash bin nearby for easy disposal.
- Reusable Water Bottles: Encourage players to bring their own reusable bottles. Your station can then serve as a refill point. This is more environmentally friendly and cost-effective in the long run.
- Cup Dispenser: A simple dispenser can help keep cups organized and make them easy to grab.
Support and Stability
Your station needs to be stable, especially on uneven fields.
- Sturdy Table or Cart: A foldable table or a sturdy cart can serve as the base for your water dispenser and other supplies. Ensure it can handle the weight of full coolers and water.
- Weights/Anchors: In windy conditions, you might need to secure your table or coolers to prevent them from tipping over.
Accessories for Functionality and Presentation
These items enhance the user experience and the overall look of your station.
- Trash Can: Essential for keeping the area clean, especially if you’re using disposable cups.
- Signage: Clearly label your water station. This is important for visibility and to inform players about its purpose.
- Towels: A few clean towels can be useful for wiping up spills.
- Sanitizer: Hand sanitizer is a great addition for hygiene.
Building Your DIY Football Hydration Station: Step-by-Step
Now that you know what you need, let’s get building! This section outlines a straightforward approach to assembling your station, focusing on creating an easy sports water station.
Step 1: Choose Your Base
Your base provides a platform for your water dispenser and other necessities.
Option A: The Folding Table
A simple, foldable table is perhaps the most common and versatile option.
- Pros: Portable, easy to set up and take down, comes in various sizes and heights.
- Cons: Can be less stable on very uneven ground if not weighted down.
Assembly:
1. Unfold your table.
2. Ensure all legs are locked into place.
3. If your table has multiple tiers, consider which tier is best suited for the water dispenser (usually the top).
Option B: The Utility Cart
A sturdy utility cart with wheels offers mobility, which is excellent for moving your portable sports water dispenser around the field.
- Pros: Mobile, can sometimes have built-in shelves for additional storage.
- Cons: May require more effort to stabilize on soft ground, can be bulkier than a table.
Assembly:
1. Ensure all wheels are securely attached.
2. If the cart has adjustable shelves, set them at convenient heights.
3. Consider using wheel chocks or placing heavy items on the bottom shelf to prevent rolling.
Step 2: Set Up Your Water Dispenser
This is where the actual hydration happens.
Option A: The Classic Water Cooler
These are robust and designed for dispensing.
- Placement: Position your water cooler securely on your chosen base. Make sure the spigot is easily accessible.
- Filling: Fill the cooler with fresh, cold water. For optimal cooling, you can add ice directly to the water if your cooler is designed for it, or pre-chill the water in a refrigerator before filling.
- Testing: Open the spigot briefly to ensure it works and there are no leaks.
Option B: The Large Water Jug with Spigot
A more lightweight and often cheaper alternative.
- Placement: Securely place the jug on your base.
- Filling: Fill the jug with chilled water. Adding ice to the water is usually recommended with these types of dispensers.
- Testing: Operate the spigot to check for proper flow and any drips.
Step 3: Ice Management
Keeping the water cold is paramount for a refreshing experience.
- Dedicated Ice Cooler: Use a separate, well-insulated cooler filled with ice.
- Ice Packs: If you’re using reusable bottles, an ice cooler with ice packs is a great way to keep them frigid.
- Ice Replenishment: Have extra bags of ice on hand for longer events or hotter days.
Step 4: Cup and Refill Station Setup
Make it easy for players to get their water.
- Cup Dispenser: If you have one, load it with cups.
- Cup Stacking: If you don’t have a dispenser, stack cups neatly near the spigot.
- Refill Area: If players are using reusable bottles, designate a clear area on or near the table for them to refill.
Step 5: Add Essential Accessories
These finishing touches make your station functional and tidy.
- Trash Receptacle: Place a trash can within easy reach. A designated bin for recycling is also a great idea if using recyclable cups.
- Signage: Create a clear, visible sign that says “Water Station” or “Hydration Station.” You can even personalize it with your team’s name or logo to create a custom football water bar.
- Towels: Keep a few clean towels handy for spills.
Creative Team Water Cooler Ideas and Customization
Beyond the basic setup, you can elevate your football water station to be more engaging, efficient, and representative of your team. Think of this as building a custom football water bar that players will appreciate.
Personalizing Your Station
- Team Colors and Logos: Use tablecloths, banners, or even painted coolers in your team’s colors. Print your team logo on the signage for a professional look.
- Themed Decorations: Depending on the event, you could add fun, sports-themed decorations.
Enhancing Functionality
- Multiple Spigots: For larger teams or events, consider a larger cooler or even two coolers with separate spigots to reduce waiting times. This is key for effective sports event water management.
- Built-in Cup Holders: Some tables or carts have cup holders, or you can easily attach some.
- Ice Bucket with Tongs: If you have separate ice, providing tongs makes it easier and more hygienic for players to add ice to their bottles.
- First-Aid Kit Accessibility: While not directly part of the water station, having a small, visible first-aid kit nearby is always a good practice for any sports activity.
- Electrolyte Mix Station: For prolonged or intense activities, having a separate cooler or container with an electrolyte powder or drink mix that players can add to their water can be a valuable addition. Ensure you have scoops and clear instructions.
Making it Portable and Stable
- Wheeled Coolers: Many large coolers come with wheels and handles, making them easier to transport.
- Securing Mechanisms: For windy days or uneven terrain, consider using bungee cords to attach coolers to tables or sandbags to weigh down the legs of tables.
- Platform Stability: If using a table, ensure it’s on a flat surface. If the ground is particularly soft, place sturdy planks of wood underneath the table legs to prevent sinking.
Here’s a table summarizing some popular choices for water dispensers and their suitability:
| Dispenser Type | Portability | Ease of Use | Cooling Capacity | Cost | Best For |
|---|---|---|---|---|---|
| Large Water Cooler (2-5 gal) | Moderate | High | Good | Moderate | Most team practices and games |
| Large Water Jug (1-3 gal) | High | High | Moderate | Low | Smaller teams, frequent relocation |
| Insulated Water Tanks | Moderate | Moderate | Excellent | High | Large events, hot weather, long durations |
| Individual Bottles (in cooler) | High | Very High | Good | Varies | Quick access, individual preference |
Optimizing Your Sideline Hydration Solution
A well-executed water station contributes significantly to player performance and safety. Let’s look at how to optimize yours for maximum impact.
Strategic Placement
- Accessibility: Position the station where players can easily access it during breaks without disrupting gameplay or causing congestion.
- Shade: If possible, place your water station in a shaded area to keep the water cooler and its contents colder for longer.
- Visibility: Ensure it’s easily seen from the field.
Maintaining Hygiene
- Regular Cleaning: Clean coolers and dispensers thoroughly between uses.
- Hand Sanitizer: Always have hand sanitizer available.
- Cup Disposal: Emphasize proper disposal of cups in the provided trash bins.
- Spill Management: Clean up any spills promptly to prevent slippery surfaces.
Ensuring Sufficient Supply
- Capacity Planning: Estimate the amount of water needed based on the number of players, the duration of the activity, and the weather conditions. It’s always better to have too much water than too little.
- Replenishment Schedule: For longer events, have a plan for refilling water coolers or bringing fresh ice.
Communicating Hydration Importance
- Reminders: Coaches and team managers should verbally remind players to hydrate regularly, especially during hot weather.
- Signage: Consider adding small informational signs about the importance of hydration.
FAQ: Football Water Station Essentials
Here are some common questions about creating and managing your football water station.
Q1: What is the best type of container for a football water station?
A1: The best container is typically a large, insulated water cooler or a sturdy water jug with a spigot. These are designed to keep water cold and dispense it easily. Look for BPA-free materials and durable construction.
Q2: How much water do I need for a team?
A2: A general rule of thumb is to plan for at least 16-32 ounces (about 0.5-1 liter) of water per player per hour of activity. This can vary significantly based on the intensity of play, temperature, and humidity. It’s always best to err on the side of caution and have more water available than you think you’ll need.
Q3: Can I use a simple bucket with a lid?
A3: While you could technically put water in a bucket, it’s not ideal for a dedicated water station. Buckets are difficult to dispense from cleanly and don’t offer good insulation. A dispenser with a spigot is far more practical and hygienic.
Q4: How do I keep the water cold without a refrigerator at the field?
A4: The most effective way is to use a high-quality insulated cooler and fill it with plenty of ice and pre-chilled water. Adding ice directly to the water in the dispenser (if it’s designed for it) also helps. Replenishing ice throughout the event is crucial, especially in warm weather.
Q5: What if I have a very small team or practice?
A5: For a very small team or a short practice, a 1- or 2-gallon water jug with a spigot might be sufficient. You can place this on a small portable table or even directly on the ground if it’s stable and clean.
Q6: How can I make my water station more environmentally friendly?
A6: Encourage players to bring their own reusable water bottles and set up your station as a refill point. Use reusable cups if disposable ones are necessary, or opt for compostable/recyclable paper cups and provide separate bins for each.
Q7: What are some good alternatives to ice?
A7: Frozen water bottles can serve as ice packs and then be drunk as they thaw. Large reusable gel ice packs are also an option, but they might not keep water as consistently cold as actual ice for extended periods.
By following these guidelines, you can easily construct and maintain an effective and inviting football water station, ensuring your athletes stay hydrated and perform at their peak. Remember, a well-organized sideline hydration solution is an investment in player health and team success.